

BRIAN’S LIST: SHOWCASING THE BEST DEALS AND INTERESTING FINDS IN MUSICAL EQUIPMENT IN NEW YORK CITY.
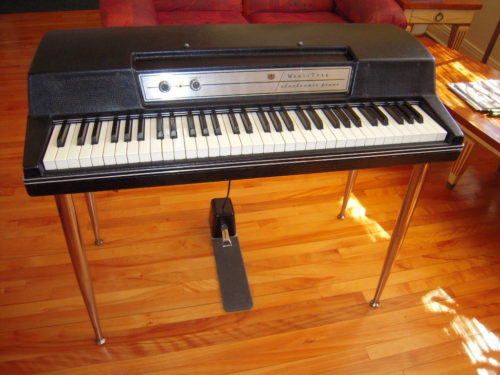
The most commonly found Wurlitzer is the 200A model; made from around 1967 to 1982.
There are 64 keys on these pianos and hundreds of moving parts that are made out of wood and felt. These wear down after years of use and need to be changed out to avoid sluggish action, dead keys and insure a consistent feel and sound across the piano. I took on the task of opening my Wurlitzer up and lubricating all action parts, replacing the spring in each part, along with a few felts for good measure. This was very tedious but Vintage Vibe in NJ sell new springs, a special lubricating solution along with helpful videos on youtube and others for download that can guide you threw the process – too some extent. Gotta have the patience, time and space for this kind of job.
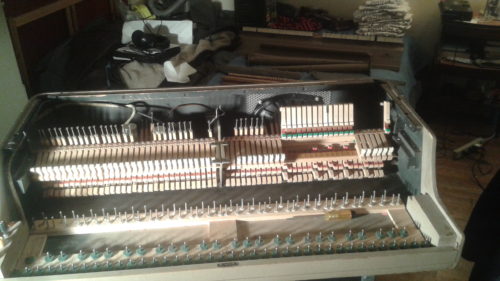
Next I removed all the action keys on the right side and began the process of removing all the springs.
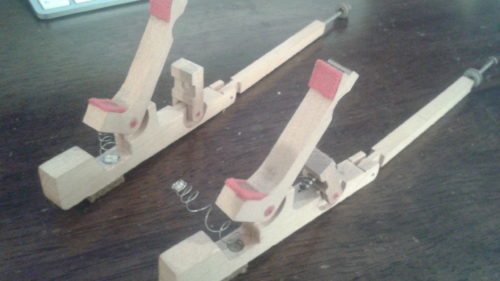
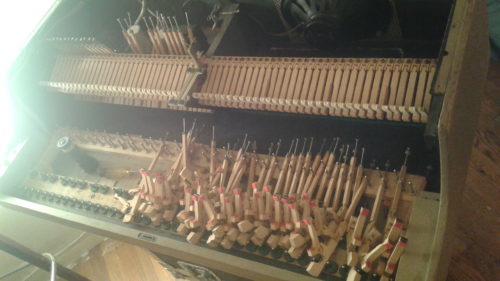
These little guys are 50 years old at this point. One snapped on me which kickstarted this repair. It’s very easy to see and feel once we are up this close how weak and brittle these springs are. Multiple applications of acetone later you can slowly scrap the old glue out, remove the spring and glue the new spring in place.
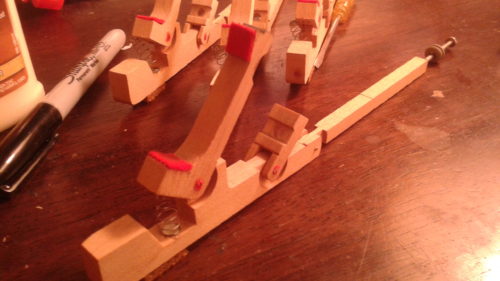
At this point I replaced all the springs on the right side of the piano and am almost done with the left. The action parts are laid out and glue is drying.
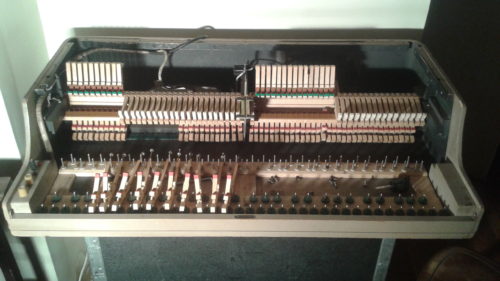
Once I put them all back in place I began the painful process of putting this machine back together. Be prepared for many snags along the way as things need to be adjusted every so slightly to make sure everything is working and fitting back in place properly.
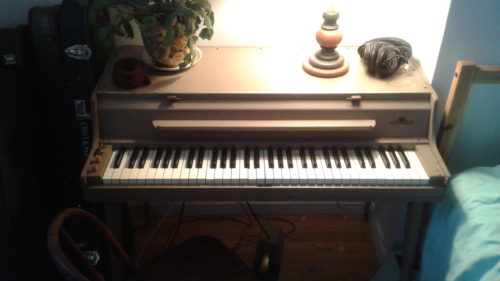
And here she sits feeling and sounding great!